The aroma of warm honey and toasted nuts, mingling with hints of cinnamon and clove, has a magical way of transporting you straight to a sun-drenched Greek island. Few desserts evoke such a powerful sense of place and occasion as Baklava. This iconic pastry, with its irresistible layers of flaky phyllo, rich spiced nuts, and glistening honey syrup, is more than just a sweet treat – it's a celebration, a tradition, and a true labor of love. While often perceived as complex, mastering a genuine Easy Greek Baklava Recipe: Achieve Perfect Flaky Honey Nut Layers is surprisingly approachable, even for the home baker.
Picture this: golden-brown sheets of crisp phyllo, crackling with every bite, revealing a generous heart of finely chopped almonds and walnuts, all brought together by a fragrant, sticky-sweet honey glaze. Whether you're entertaining guests, looking for a show-stopping holiday dessert, or simply craving a taste of the Mediterranean after a long day, our comprehensive guide to this classic Greek Baklava recipe will equip you with all the knowledge and tips to create a truly unforgettable dessert that not only satisfies your sweet tooth but also garners rave reviews.
The Anatomy of Authentic Greek Baklava: Ingredients Unveiled
To craft a baklava that truly shines, it's essential to understand the role each ingredient plays in building its signature texture and flavor profile. This isn't just a list; it's the very foundation of your culinary success.
Phyllo Dough: The Foundation of Flakiness
- Phyllo Dough: This paper-thin pastry is the soul of baklava, responsible for its distinctive crisp, airy layers. The key to success here is proper handling. Always thaw frozen phyllo in the refrigerator overnight, then let it come to room temperature before use. This makes it pliable and prevents tearing. Keep unused sheets covered with a damp towel to prevent them from drying out and becoming brittle.
- Unsalted Butter & Olive Oil: A generous amount of melted unsalted butter is crucial for richness, flavor, and that beautiful golden-brown color. Mixing a touch of good quality olive oil with the butter isn't just a Greek tradition; it adds a deeper, more nuanced flavor and helps to keep the baklava moist and tender on the inside while maintaining its crisp exterior.
The Aromatic Spiced Nut Filling
- Almonds & Walnuts: The classic combination. Almonds provide a delicate richness and crunch, while walnuts contribute a traditional, slightly more robust flavor. For the best results, chop them finely in a food processor – not to a powder, but a consistent, small crumb. Some bakers even lightly toast their nuts beforehand to deepen their flavor profile.
- Ground Breadcrumbs: A subtle but important addition. Breadcrumbs absorb any excess moisture from the nuts and help bind the filling, ensuring a more stable and less crumbly interior.
- Granulated Sugar: For sweetness, obviously, but also to help caramelize slightly with the nuts during baking.
- Ground Cinnamon & Cloves: These are the quintessential Greek baklava spices. Cinnamon provides warmth and aromatic depth, while a small hint of cloves adds a distinct, exotic note. Use freshly ground spices for maximum impact.
The Golden Honey Syrup
- Granulated Sugar & Water: Form the base of the syrup, ensuring a perfect sweet glaze and the desired consistency.
- Honey: This is where the magic truly happens. Opt for a good quality Greek honey, if possible, for that authentic depth and richness. Thyme honey or flower honey are excellent choices.
- Fresh Lemon Juice: Don't skip this! A splash of fresh lemon juice is vital for two reasons: it balances the intense sweetness of the syrup, brightening the overall flavor, and critically, it helps prevent the sugar from crystallizing, ensuring a smooth, clear glaze.
- Cinnamon Stick: Infusing the syrup with a cinnamon stick during cooking adds another layer of warm, inviting aroma that permeates every flaky layer.
Unlocking the Secrets to a Flawless Baklava Recipe
Crafting a restaurant-quality baklava at home is more about patience and technique than sheer difficulty. With this detailed Homemade Greek Baklava: Your Guide to Restaurant-Quality Dessert, you’ll achieve perfection every time.
Preparation is Paramount
- Phyllo Dough Mastery: As mentioned, thaw your phyllo dough properly. Once at room temperature, unroll it carefully. Using a sharp knife or kitchen scissors, cut the entire stack of phyllo sheets to fit your 9x13-inch baking pan. Immediately cover the stack with a slightly damp, clean kitchen towel to prevent it from drying out, which can happen very quickly.
- Oven Temperature is Key: Preheat your oven to a moderate 150°C (300°F). This lower temperature is crucial for allowing the phyllo to slowly crisp up and turn golden-brown without burning, ensuring every layer bakes evenly.
- Nut Filling Perfection: Use a food processor to finely chop your almonds and walnuts. Be careful not to over-process them into a paste; you want a fine, crumbly texture. In a large bowl, combine the chopped nuts with the ground breadcrumbs, sugar, ground cinnamon, and ground cloves. Stir thoroughly until all ingredients are evenly distributed and fragrant.
Layering with Precision and Patience
The layering process is where your baklava truly takes shape. This is a meditative task, not a race.
- Base Layers: Brush the bottom of your 9x13-inch baking pan generously with your melted butter and olive oil mixture. Lay down the first sheet of phyllo, gently pressing it into place. Brush it lightly but thoroughly with the butter mixture. Repeat this process for a total of 6 sheets of phyllo, buttering between each one. This creates a sturdy, flavorful base.
- Nutty Middle: Sprinkle a generous, even layer of your spiced nut mixture over the buttered phyllo base. Aim for full coverage without over-piling.
- Continuing the Layers: Now, the pattern repeats. Place 2-3 sheets of phyllo, brushing butter between each one, then sprinkle another layer of nuts. Continue this pattern, using up all your nut mixture. Typically, you'll have about 4-5 nut layers, interspersed with 2-3 phyllo sheets.
- Top Layers: For the very top, use 6-8 sheets of phyllo, again brushing butter between each one, ensuring the top layer is well-coated. This creates that beautiful, golden, ultra-crispy crust.
- Pre-Baking Cuts: This is a non-negotiable step! Before baking, use a sharp knife to cut the baklava into your desired shapes (diamonds or squares). Cut all the way through to the bottom. This allows the syrup to penetrate all the layers evenly after baking and makes for clean, beautiful portions.
Baking to Golden Perfection
Place your pan in the preheated oven and bake for approximately 60-90 minutes. Baking time can vary based on your oven, but the key is a slow bake. Keep an eye on it; if the top starts browning too quickly, you can loosely tent it with aluminum foil to prevent burning. The baklava is ready when it's deeply golden brown and beautifully puffed up.
Crafting the Enchanting Honey Syrup
While your baklava bakes, prepare the syrup. In a saucepan, combine the sugar, water, and cinnamon stick. Bring to a boil over medium heat, stirring until the sugar completely dissolves. Reduce the heat and let it simmer for about 5-7 minutes. Remove from heat, stir in the honey and fresh lemon juice. Let the syrup cool slightly while the baklava finishes baking.
The Golden Rule: When the baklava comes out of the oven, it must be piping hot. The syrup, however, should be warm or at room temperature (never hot). Slowly and evenly pour the cooled or warm syrup over the hot baklava. You'll hear a satisfying sizzle as the syrup gets absorbed into every flaky crevice. Let the baklava cool completely, preferably overnight, to allow the syrup to fully penetrate and set, ensuring optimum flavor and texture.
Beyond Tradition: Tips, Variations, and Enjoyment
Mastering the classic baklava recipe is just the beginning. This versatile dessert offers opportunities for personalization and ensures a delightful experience every time.
Common Pitfalls and How to Avoid Them
- Dry Phyllo: The most common issue! Always keep unused phyllo sheets covered with a damp cloth. Work quickly but carefully.
- Soggy Baklava: This usually happens if both the baklava and the syrup are hot when combined. Ensure one is hot (baklava) and the other is warm/cool (syrup) for optimal absorption and crispness. Don't over-pour the syrup either; use just enough to saturate without drowning.
- Uneven Browning: If your oven has hot spots, rotate the baking pan halfway through. If edges brown too fast, tent with foil.
- Tough Nuts: Ensure nuts are finely chopped, not chunky. This creates a smoother, more integrated filling.
Creative Twists on the Classic Baklava Recipe
While the traditional almond and walnut baklava is divine, don't hesitate to experiment:
- Pistachio Baklava: Replace walnuts with pistachios for a vibrant green color and a distinct nutty flavor, often seen in Middle Eastern versions.
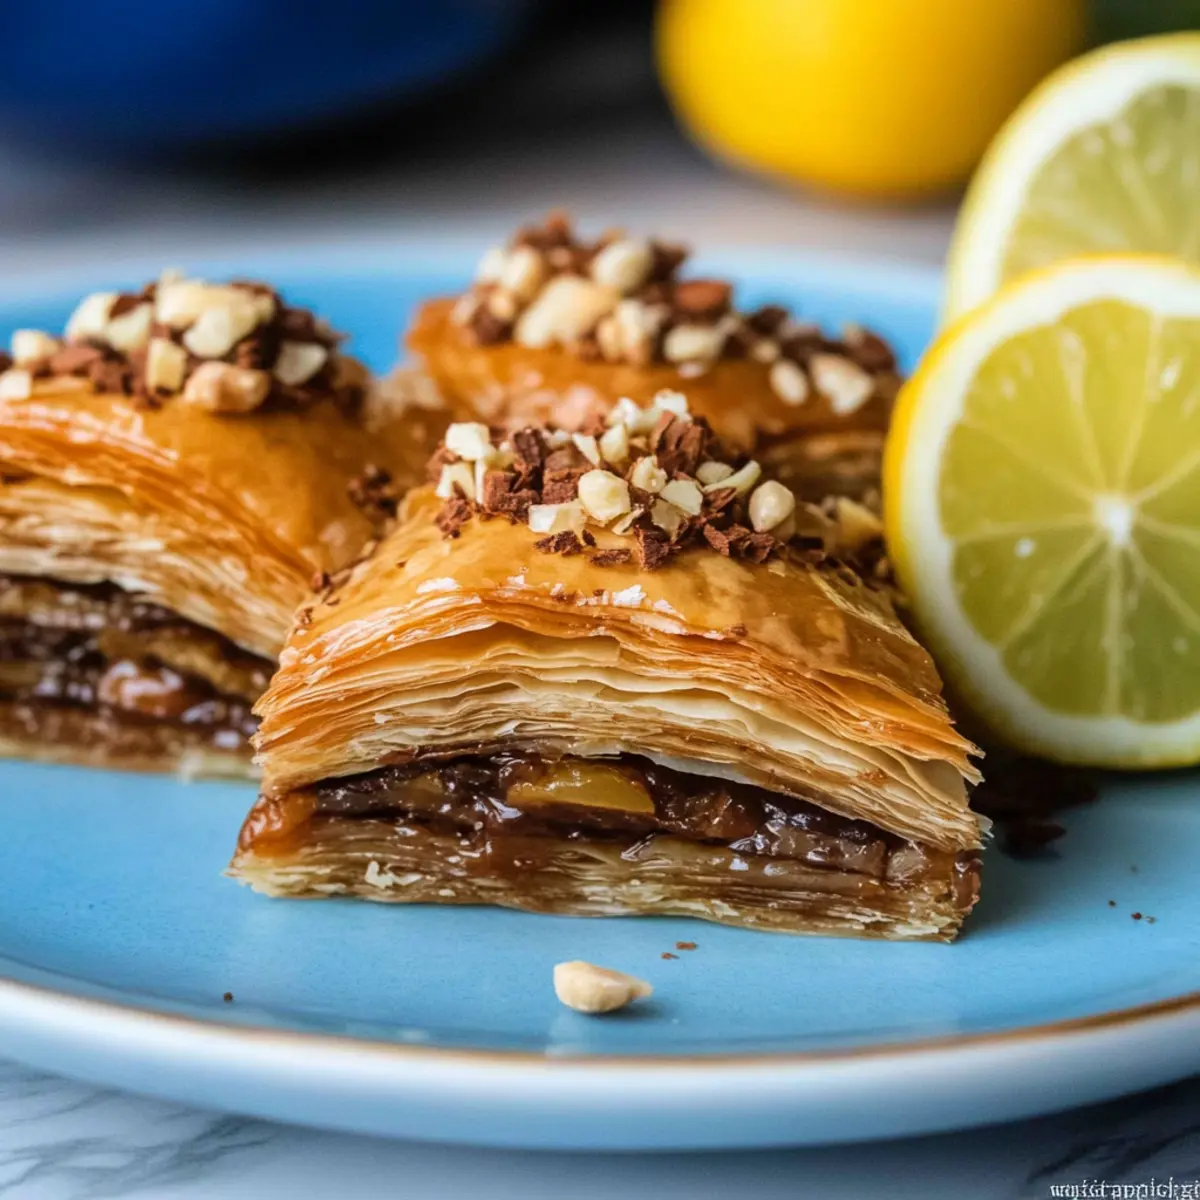
- Chocolate Baklava: Add a layer of finely chopped dark chocolate or cocoa powder to the nut mixture for a decadent twist.
- Citrus Zest: Grate orange or lemon zest into the nut filling or the syrup for an extra burst of fresh aroma.
- Different Spices: Experiment with a pinch of cardamom, star anise, or even a touch of rose water or orange blossom water in the syrup for a different aromatic profile.
Serving and Storing Your Masterpiece
Baklava is best enjoyed at room temperature, allowing its complex flavors and textures to fully shine. It can be stored in an airtight container at room temperature for up to two weeks, or in the refrigerator for longer. The flavors often deepen and meld beautifully over a day or two, making it a perfect make-ahead dessert. And for those curious about pronunciation, it's "bah-klah-vah," with the stress on the first syllable.
While its exact historical origins are debated among food historians, baklava has firmly cemented itself as a beloved Greek pastry, cherished for its rich taste and the warm memories it evokes.
Embracing the process of making baklava is a journey into a culinary tradition that delights the senses and nurtures the soul. This truly is a dessert that impresses, not just with its beautiful presentation and exquisite taste, but with the heartfelt effort poured into every single flaky layer. So, gather your ingredients, follow these steps, and prepare to embark on your own sweet adventure, creating a Greek baklava recipe that will be remembered long after the last bite.
